Infinite Scroll(무한 스크롤)이란
페이지의 이동 없이 스크롤을 내리는 것만으로 다음 페이지의 내용을 불러오는 것을 의미합니다.
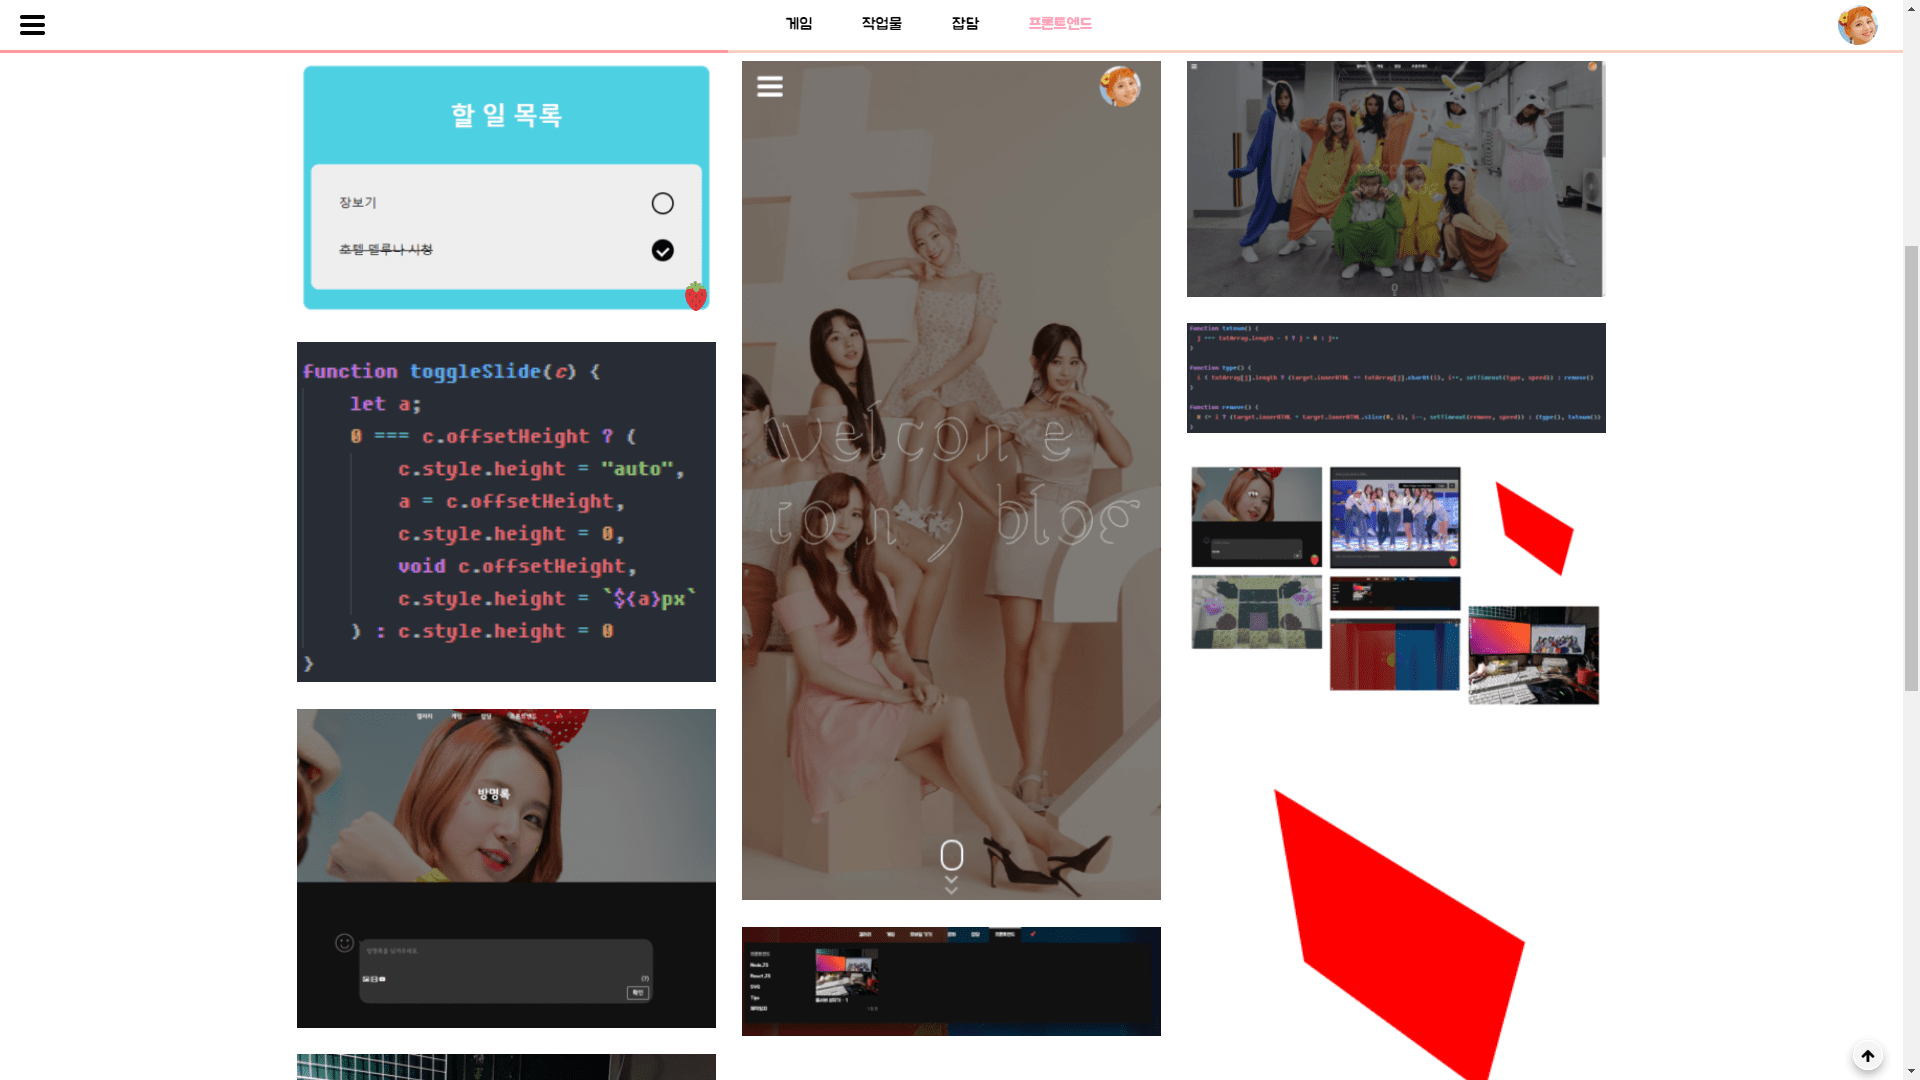
제 블로그의 프론트엔드 카테고리 등에 가보시면 라이브 데모를 확인해보실 수 있습니다.
테마 수정하기
PHP
<?php get_header(); ?>
<main id="main" class="postList<?php echo postListStyle() ?>">    <div class="gutter-sizer"></div>    <?php if ( have_posts() ) :         while ( have_posts() ) : the_post(); ?>
    <a class="link_post<?php echo checkNew(); ?>" href="<?php the_permalink() ?>">        <div class="thumbnail_wrapepr">            <img class="index_thumbnail" src="<?php                if (has_post_thumbnail()) {                    the_post_thumbnail_url('medium');                }                else {                    echo get_template_directory_uri() . "/assets/images/noimg.png";                } ?>" alt="<?php the_title(); ?>">        </div>        <div class="index_information">            <div class="tit_post"><?php the_title(); ?></div>            <time class="date"><?php echo timeFormat(); ?></time>        </div>    </a>        <?php endwhile;         else: ?>    <p class="center">죄송합니다. 아직 보여드릴 것이 없네요.</p>            <?php endif; ?>
    <div id="loading"></div></main>
<div id="paging">    <?php      echo '<div class="paginate-links">';        echo paginate_links( array(        'prev_text' => __(''),        'next_text' => __('')        ) );      echo '</div>';    ?></div>
<?php get_footer(); ?>
먼저 제 category.php 파일의 모습입니다.
주목하셔야 할 부분은 #main, #loading, #paging 입니다.
#paging에서 다음 / 이전 페이지의 주소를 받아오고, #main에 글 목록을 추가합니다.
이미지를 로딩하는 중엔 #loading을 표시해 로딩 중이란 걸 표시할 겁니다.
css
#loading {    display: none;    position: absolute;    bottom: 75px;    left: 50%;    width: 100px;    height: 100px;    background: url(assets/images/twice-loader-z.svg) center;    background-size: cover;    background-repeat: no-repeat;    transform: translateX(-50%);    z-index: 300}
#loading.reveal {    display: block}
#paging은 그냥 display: none으로 숨겨주세요.
#loading엔 위와 같은 css를 적용해뒀습니다. 본인 취향에 맞게 적절히 만드시면 됩니다.
Javascript
const loading = document.getElementById("loading");let isld, ispld;
function nextPage() {  const next = document.querySelector(".next");  if (null === next || isld === true || next.classList.contains("done")) return !1; // 로딩 하지 않아야 할 상황에 로딩하는 것 방지용  const a = next.href,      b = new XMLHttpRequest;  let c;  isld = true,  loading.classList.add(reveal),  b.open("GET", a),  b.send(null),  b.onreadystatechange = function () {      4 === b.readyState && (          c = new DOMParser().parseFromString(b.responseText, "text/html"),          history.pushState(null, null, a),          null === c.querySelector(".next") // 마지막 페이지인지 확인하기          ? (            next.classList.add("done"),            next.removeAttribute("href")          )          : (            next.href = c.querySelector(".next").href          ),          b.onload = function () {              Array.from(c.querySelectorAll(".link_post")).forEach(a => {                  a.classList.add("reveal"), main.append(a)              }),              loading.classList.remove(reveal), isld = false          }      )  }}
function prevPage() {  const prev = document.querySelector(".prev");  if (null === prev || ispld === true || prev.classList.contains("done")) return !1; // 로딩 하지 않아야 할 상황에 로딩하는 것 방지용  const a = prev.href,      b = new XMLHttpRequest;  let c;  ispld = true,  loading.classList.add(reveal),  b.open("GET", a),  b.send(null),  b.onreadystatechange = function () {      4 === b.readyState && (          c = new DOMParser().parseFromString(b.responseText, "text/html"),          null === c.querySelector(".prev") // 첫 페이지인지 확인하기          ? (            prev.classList.add("done"),            prev.removeAttribute("href")          )          : (            prev.href = c.querySelector(".prev").href          ),          b.onload = function () {              Array.from(c.querySelectorAll(".link_post")).reverse().forEach(a => { // 이전 페이지 글이니 Array 역순으로 정렬합니다                  main.prepend(a)              }),              loading.classList.remove(reveal), ispld = false, prevPage() // 첫 페이지까지 로딩을 계속하는 재귀함수입니다          }      )  }}
function loadNext() {  const b = document.querySelector(".next");  null !== b && window.scrollY >= b.offsetTop - window.innerHeight && nextPage()}
function loadPrev() {  -1 !== location.href.indexOf("/page/") && prevPage()}
loadPrev(),window.addEventListener("scroll", loadNext)
대망의 자바스크립트입니다.
본인의 상황에 맞게 적절하게 수정하시면 됩니다.


